Ditch the confusion. Learn exactly what gear a beginner needs for smart home security, how to install it yourself, and avoid costly mistakes.
- June 25, 2026
Your Front Door Is Lying to You
You probably think your deadbolt is keeping you safe. And sure, it might stop someone who jiggles the handle. But here's the uncomfortable truth: most burglars don't pick locks. They kick doors, smash windows, or walk right through an unlocked slider while you're asleep upstairs. According to the FBI, a home burglary happens every 15 seconds in the U.S., and in over 30% of cases, the intruder simply enters through an unlocked point.
That's where smart home security comes in. Not as a replacement for your old locks and alarms, but as a layer of awareness that actually works while you're distracted. This guide is for anyone who's ever stared at a Ring doorbell ad and thought, "That looks cool, but where do I even start?" We're skipping the jargon and the overpriced bundles. You'll get a real-world setup that protects your home without making you feel like you need a tech degree.
Think of it this way: smart security isn't about turning your house into a fortress. It's about making your home less appealing than the neighbor's. Most thieves are opportunists. They want an easy score, not a challenge. A visible camera, a smart light that turns on at dusk, and a door sensor that blares a chime when opened—these small things create enough friction that a burglar moves on.
What You Actually Need (And What You Can Skip)
Walk into any electronics store and you'll see wall-to-wall gadgets: smart locks with fingerprint scanners, video doorbells with facial recognition, indoor cameras that track your pet's sleep schedule. It's overwhelming, and honestly, most of it is overkill for a beginner. The goal here isn't to buy everything. It's to buy the right things that solve your biggest risk points.
Start with three core devices: a video doorbell, a couple of smart sensors, and one indoor camera. That's it. The video doorbell covers your front entrance—where 34% of burglars attempt entry, per the Bureau of Justice Statistics. The sensors go on your most vulnerable doors and windows (back door, ground-floor windows, garage entry). The indoor camera watches your main living area or hallway, giving you a view of anyone who gets past the perimeter.
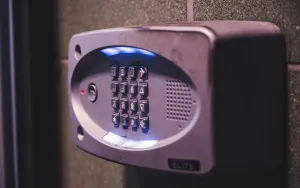
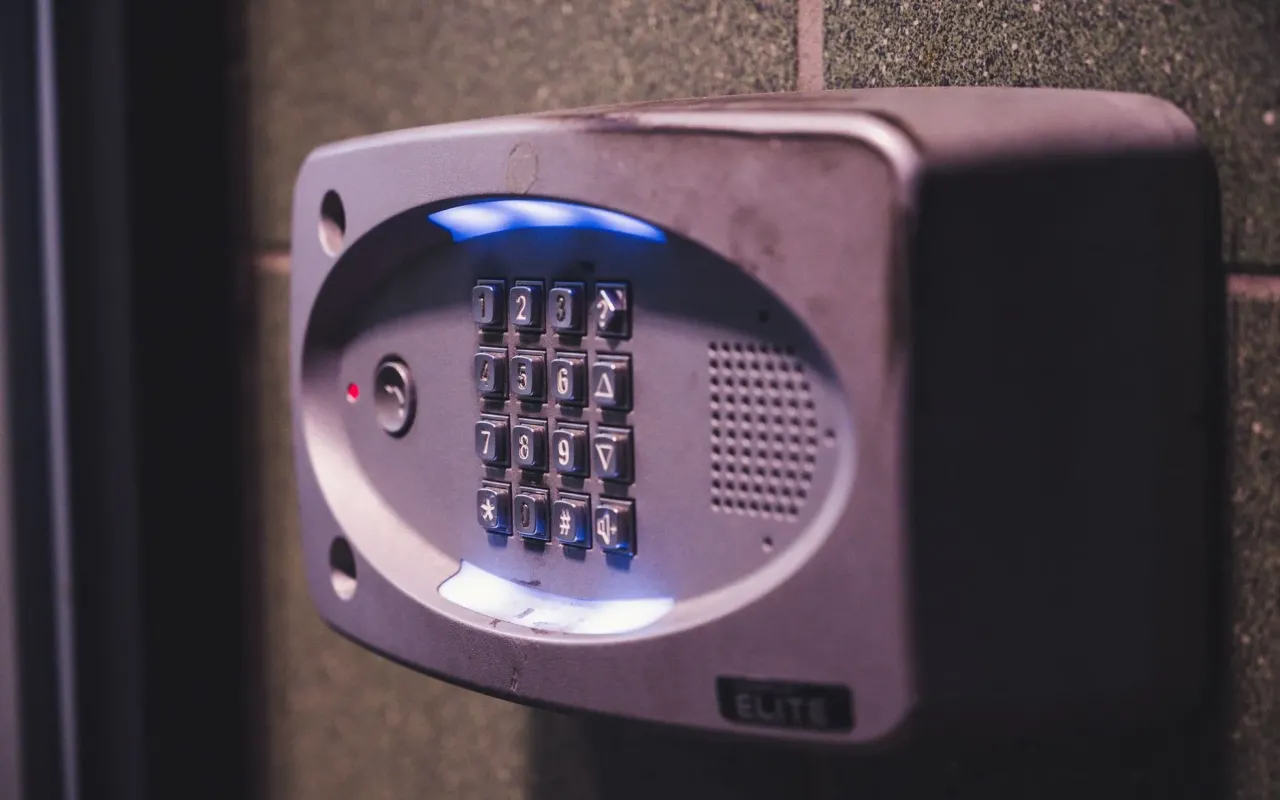
Here's what you can skip: smart locks with keypads if you already have a reliable deadbolt. Yes, they're convenient, but they're also a single point of failure if the battery dies or the app glitches. Stick with your regular lock and add a sensor to tell you when the door opens. You'll save $150 and avoid a headache. Also skip the "whole-home" alarm system with a monitoring contract. Those lock you into monthly fees and often require professional installation. A DIY setup with a $10/month cloud subscription is cheaper and gives you more control.
One practical tip: buy devices that work with both Alexa and Google Assistant, even if you don't own a smart speaker yet. This future-proofs your setup. When you eventually add a smart light or a thermostat, everything will talk to each other without you having to replace gear.
Why Sensors Beat Cameras for Deterrence
Cameras are great for catching someone after the fact, but sensors stop the crime before it happens. A contact sensor on your back door costs about $15. When the door opens, it triggers a loud chime through your phone and a hub. That sound alone makes most burglars freeze or flee. They don't know if you're home or if the alarm is connected to a monitoring service. They just know it's not silent.
Place sensors on every door that leads outside, plus any windows that are ground-level or accessible from a porch. Skip windows on the second floor unless you have a balcony. For sliding glass doors, use a special sensor that detects when the door is lifted off its track—that's a common entry method. You can find these for under $20 on Amazon.
The best part? Sensors don't invade your privacy. They don't record video of you walking around in your underwear. They just send a notification when something opens. That's a big win for anyone who feels weird about having cameras inside their home.
How to Install Everything in Under an Hour
You don't need a drill, a ladder, or a handyman. Most smart home devices are designed for renters and people who hate tools. The installation process for a typical setup takes about 45 minutes, start to finish, including the time you spend downloading apps and creating accounts.
Start with the video doorbell. If you have an existing wired doorbell, you can usually replace it by connecting two wires—it's like swapping a light switch. If you don't have wires, buy a battery-powered model. Ring, Eufy, and Wyze all make battery versions that mount with two screws. Stick it at eye level, not too high, so the camera captures faces, not the top of someone's head. Pro tip: angle it slightly downward to reduce glare from the sun.
Next, install the sensors. Most come with adhesive strips—peel, stick, and align the two halves. Place the larger half on the door frame and the smaller half on the door itself, about a quarter-inch apart. Test it by opening the door; you should hear a chime or see a notification within two seconds. If it's too far apart, the sensor won't trigger. If it's too close, the magnet might stick and prevent the door from closing fully.
For the indoor camera, find a spot that gives you a wide view of the main traffic area—like a living room bookshelf or a kitchen counter. Avoid pointing it directly at a window; the camera's night vision will reflect off the glass and create a white blob. Plug it in, connect to Wi-Fi, and set a schedule so it only records when you're away. Most apps let you create "Home" and "Away" modes. Use them so you're not recording yourself binge-watching Netflix.
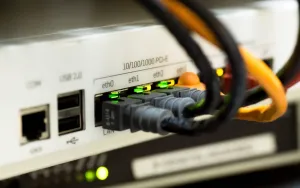
Choosing a Hub vs. Going Hub-Free
Here's a decision that tripped me up when I started: do you need a central hub, or can everything work on its own? A hub is a small box that connects all your devices to each other and to the internet. Think of it as the brain of your system. Without a hub, each device connects directly to your Wi-Fi, which can slow down your network and create lag when you try to view a camera feed.
For beginners, I recommend going hub-free at first. Most modern devices—like Ring, Wyze, and Arlo—connect directly to your Wi-Fi and work fine with a single app. You'll only need a hub if you buy Z-Wave or Zigbee devices, which are common in higher-end systems like Samsung SmartThings or Hubitat. Those are great for advanced users, but they add complexity and cost. Start simple.
If you do buy a hub, make sure it's compatible with the devices you already own. Some hubs only work with their own brand's sensors. Others, like the Amazon Echo Plus, have a built-in Zigbee radio that works with many third-party brands. Check the compatibility list before you buy. Nothing is more frustrating than unboxing a device and realizing it won't talk to your hub.
One more thing: hubs need to be plugged into your router via Ethernet for the best reliability. Wi-Fi hubs can lose connection during storms or network congestion. A wired connection is rock-solid and ensures your sensors and cameras never go offline when you need them most.
Automation Rules That Make Security Effortless
Smart home security isn't just about reacting to a break-in. It's about preventing one from happening in the first place. Automation rules are the secret sauce that turns a bunch of gadgets into a real security system. You set them up once, and they run on autopilot. Here are three rules every beginner should create on day one.
Rule one: when your front door sensor detects the door opening after 10 PM, turn on the living room light. This makes it look like someone is home and awake, even if you're asleep. Most smart bulbs and plugs support this kind of trigger. It takes 30 seconds to set up in the app. Rule two: when your video doorbell detects motion, record a clip and send you a push notification. But also set it to sound a chime on your phone so you know someone is there, even if you're in the backyard.
Rule three: create a "vacation mode." When you're away for more than a day, have your smart lights turn on and off at random intervals. Don't just set them to the same time every night—that's a dead giveaway. Use a feature called "random schedule" or "away lighting" that varies the times. Some apps like Philips Hue and Kasa have this built in. If yours doesn't, use a third-party service like IFTTT to create a random pattern.
The payoff? You never have to remember to arm the system or turn on lights. It just happens. And that's the whole point of a smart home: it makes security so easy that you actually use it. A deadbolt only works if you lock it. A camera only helps if you check the feed. Automation removes the human error factor.
Privacy Risks You Can't Ignore
Let's be honest: putting cameras and microphones in your home creates a privacy trade-off. You gain security, but you also invite potential surveillance—by hackers, by the company that makes the device, or even by a nosy guest. You don't have to be paranoid, but you do need to be smart about how you set things up.
First, change the default password on every device. This sounds obvious, but a 2022 study by Consumer Reports found that 40% of smart home users never change the factory-set admin password. That's like leaving your front door unlocked with a sign that says "Free Wi-Fi." Use a strong, unique password for each device and app. A password manager makes this easy.
Second, disable features you don't need. Many cameras come with two-way audio, cloud recording, and motion tracking enabled by default. If you don't need to talk through the camera, turn off the microphone. If you don't want the camera recording every time your cat walks by, adjust the motion sensitivity to human-sized objects only. Less data being collected means less data that can be leaked.
Third, check the privacy policy of the brand you buy from. Some companies, like Ring (owned by Amazon), have faced criticism for sharing footage with law enforcement without a warrant. Others, like Eufy and Wyze, have had data breaches. No brand is perfect, but you can minimize risk by choosing devices that store video locally on an SD card instead of sending it to the cloud. Local storage means you control the footage, not a corporation.
One actionable takeaway: set up a separate Wi-Fi network for your smart devices. Most modern routers let you create a "guest network" that isolates your security gear from your main devices (phones, laptops, streaming sticks). If a hacker compromises your camera, they can't pivot to your computer or steal your banking info. It takes five minutes to set up and adds a huge layer of protection.
When to Pay for Monitoring (And When to Skip It)
You've probably seen ads for ADT or Vivint with professional monitoring for $30-$50 per month. That buys you a team of people who watch your alarm 24/7 and call the police if a sensor triggers. For some people, that peace of mind is worth the cost. But for most beginners, it's not necessary.
Here's the reality: police response times for home alarms are notoriously slow. In many cities, a burglar alarm gets a "low priority" response because 95% of alarms are false. By the time the police arrive (often 15-30 minutes later), the intruder is long gone. Professional monitoring is really just a fancy way of saying "someone will call you to check if you're okay." You can do that yourself with a $10/month cloud subscription that sends you push notifications.
Skip the monitoring contract if you live in a low-crime area, have a dog that barks at strangers, or are home most of the day. Your own awareness is faster and cheaper than any monitoring service. Pay for monitoring only if you travel frequently, live alone in a high-crime neighborhood, or have expensive valuables like art or jewelry that you want insured. Some insurance companies even offer a discount for monitored systems, so check with your provider.
A middle-ground option is self-monitoring with a cellular backup. Some hubs, like the Ring Alarm, have a built-in cellular chip that keeps your system online even if the Wi-Fi goes down. That costs about $10/month and gives you the reliability of a monitored system without the human middleman. You get notified instantly, and you decide whether to call the police yourself.
Your 7-Day Plan to Go From Zero to Secure
You don't have to do everything at once. In fact, trying to buy and install 15 devices in one weekend is a recipe for frustration and returns. Instead, follow this 7-day plan that builds your system gradually, so you can test each piece before adding the next.
Day 1: Buy a video doorbell and one door sensor. Install the doorbell at your front entrance, and stick the sensor on your back door. Set up the app and test the notification. Day 2: Add a second sensor on your most accessible ground-floor window. Create a rule that triggers a light when that window opens. Day 3: Install an indoor camera in your main hallway or living room. Set it to record only when you're away. Day 4: Buy two smart plugs and connect them to lamps. Set a random schedule for evening hours. Day 5: Test everything. Open each door and window, walk in front of the camera, and check that notifications arrive within three seconds. Day 6: Create your vacation mode and test it by leaving the house for an hour. Day 7: Review your setup. Do you have any blind spots? Is there a window you forgot? Adjust and feel confident that your home is now smarter than 90% of your neighbors.
This plan works because it's low pressure. You're not committing to a huge expense or a complex installation. You're just adding one device at a time, learning as you go. By the end of the week, you'll have a system that actually works, not one that sits in a box because you got overwhelmed.
And here's the best part: once you have the basics, you can expand slowly. Add a smoke alarm that texts you when it goes off. Put a water leak sensor under your washing machine. Install a smart lock on the garage door. Each addition takes 10 minutes and costs under $50. Your security grows with your needs, not your anxiety.