Ditch plastic wrap for good. Learn the simple, foolproof method to make durable beeswax food wraps at home, with real tips for success.
- July 11, 2026
Why Your Kitchen Still Needs This 8th-Century Trick
You know that moment when you reach for plastic wrap, and it sticks to itself, then your fingers, then the bowl in a crumpled mess? We've all been there. But here's a fact that might surprise you: the average roll of plastic wrap takes over 450 years to decompose in a landfill. Meanwhile, beeswax wraps—a concept humans have used for centuries—can be composted in about a year. Making your own isn't just a craft project; it's a direct hit against single-use plastic waste.
I started making my own wraps two years ago after a particularly frustrating encounter with a sticky roll of cling film that ended up in the trash. My first batch was a disaster—crumbly, uneven, and smelling faintly of burnt honey. But after trial and error, I landed on a method that produces wraps that actually seal, stay flexible, and last for months. The best part? You probably already own half the supplies.
Before we dive into the process, know this: homemade beeswax wraps are not a perfect replacement for every single use. They won't work for raw meat or hot liquids. But for covering a bowl of leftover curry, wrapping a half-cut avocado, or keeping a block of cheese fresh, they outperform plastic in both function and feel. And when they finally wear out, you can toss them in your compost bin or use them as fire starters. That's a win for your wallet and the planet.
The Real Cost of Plastic Wrap vs. DIY Wraps
What You're Actually Spending
Let's talk numbers because sustainability without practicality is just virtue signaling. A standard 200-foot roll of plastic wrap costs about $4. If you use it three times a week (covering leftovers, wrapping sandwiches, etc.), that roll lasts roughly six months. Over a year, you're spending $8. A DIY beeswax wrap, on the other hand, costs about $1.50 to make, and a single wrap lasts 6 to 12 months with proper care. Make six wraps for $9, and you're covered for a year—with zero waste.
But the savings go deeper. Plastic wrap is single-use; you throw it away after one use. Beeswax wraps can be washed with cold water and mild soap, then reused hundreds of times. I've had a medium-sized wrap for eight months that still seals tightly around a bowl of overnight oats. When it finally loses its grip, I'll grate it into my compost pile. Compare that to the 50 feet of plastic wrap I would have used in that same period.
The Hidden Cost of Convenience
There's also the hidden cost of frustration. Plastic wrap often fails to seal properly, especially on oddly shaped bowls or cut vegetables. You end up using twice as much, or worse, you give up and let food go stale. Beeswax wraps have a natural tackiness that conforms to almost any shape. The warmth of your hands activates the wax, creating a seal that stays put. That means fewer wasted leftovers and less money down the drain.
One more thing: the environmental impact. Producing plastic wrap requires petroleum, and its manufacturing releases greenhouse gases. Even if you recycle the plastic wrap (which most curbside programs don't accept), the energy cost is high. Making beeswax wraps uses natural materials—cotton, beeswax, jojoba oil—that are renewable and biodegradable. You're literally creating a product that gives back to the earth when it's done.
What You Actually Need (And What You Can Skip)
The Core Ingredients
You only need four things: 100% cotton fabric (organic is nice but not required), beeswax pellets or grated beeswax, jojoba oil (or coconut oil), and pine resin. Yes, pine resin sounds intimidating, but it's the secret ingredient that makes your wraps sticky and flexible, not stiff and cracked. You can find it online or at some craft stores for about $10 for a bag that lasts dozens of wraps.
Skip any recipe that tells you to use only beeswax and oil. Without pine resin, your wraps will be brittle and flake off after a few uses. I learned this the hard way. The resin acts as a natural plasticizer, keeping the wax flexible even in cooler temperatures. It also adds that tacky quality that makes the wrap cling to itself and to bowls. Don't skip it.
The Tools You Already Have
You'll need a baking sheet, parchment paper, a brush (a cheap pastry brush works), an oven or iron, and scissors. That's it. No special equipment. If you're using the oven method, preheat to 200°F (93°C). If you're using an iron, set it to low heat—no steam. I prefer the oven method for larger batches because it's more hands-off, but the iron works fine for a single wrap.
One pro tip: use pinking shears (the zigzag scissors) to cut your fabric. They prevent fraying, which means your wraps will last longer without the edges unraveling. If you don't have pinking shears, regular scissors work, but you'll need to hem the edges or accept that the wrap will fray over time. I've done both, and the pinking shears are worth the $8 investment.
The Foolproof Method for Making Beeswax Wraps
Step 1: Prepare Your Fabric
Wash and dry your cotton fabric to remove any sizing or chemicals. Cut it into desired sizes. I recommend starting with three sizes: small (6x6 inches for cheese or avocado halves), medium (10x10 inches for bowls), and large (14x14 inches for bread or large casserole dishes). Don't make them too big—larger wraps are harder to handle and don't seal as well. You can always make more later.
Lay a piece of parchment paper on your baking sheet. Place your fabric on top. Sprinkle a generous layer of beeswax pellets over the fabric—about 1 tablespoon per 10x10 inch square. Then add a few drops of jojoba oil (about 1/2 teaspoon) and a pinch of pine resin (about 1/2 teaspoon). Don't overdo the oil; too much makes the wrap greasy and less effective.
Step 2: Melt and Spread
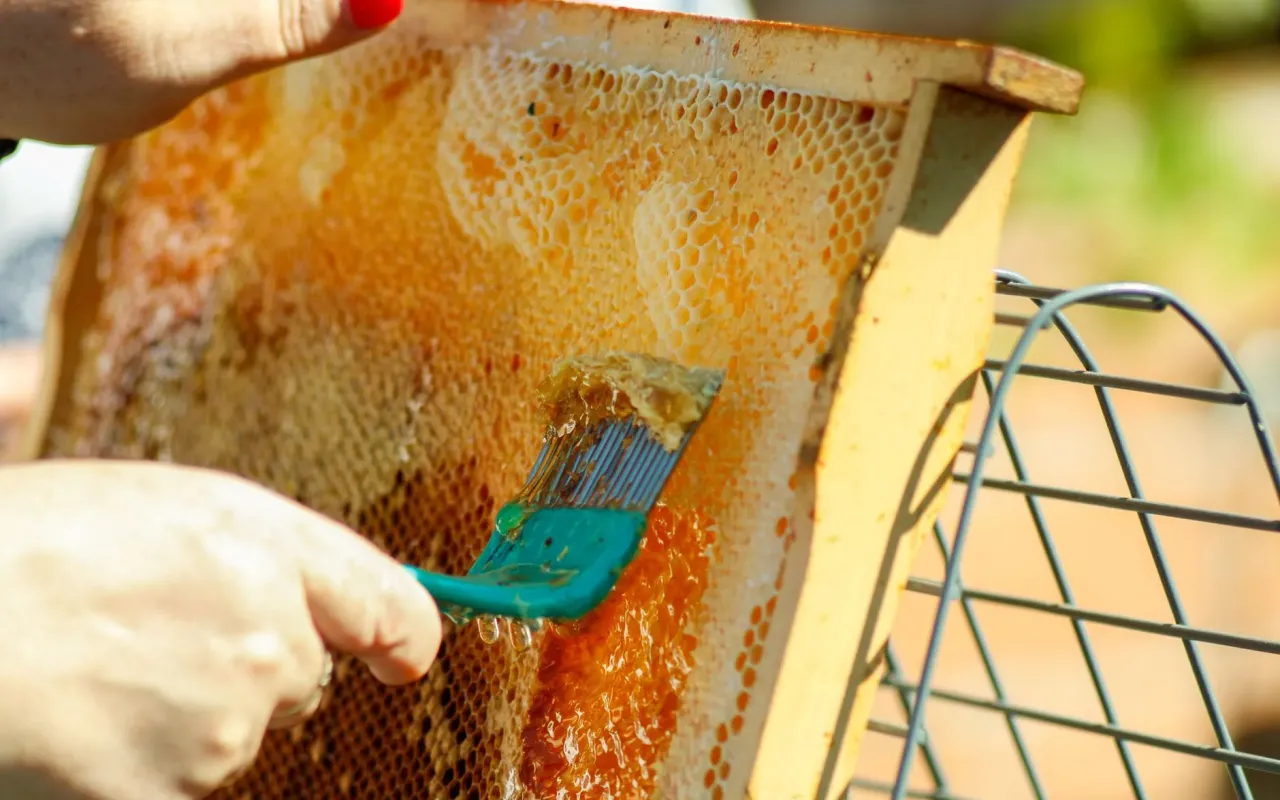
Place the baking sheet in the oven for 5-7 minutes, or until the beeswax is completely melted. You'll see it turn clear and soak into the fabric. Remove the sheet carefully—it's hot. Use your brush to spread the melted wax evenly across the fabric. Work quickly because the wax starts to set as it cools. If you see dry spots, add a few more pellets and return to the oven for 2 minutes.
Here's where most people mess up: they let the wax pool in one area. You want an even coating. If you notice thick spots, use the brush to push the wax to thinner areas. The goal is a uniform, slightly translucent look. If your wrap looks patchy, it won't seal properly. Don't worry if it's not perfect—practice makes perfect.
Step 3: Set and Test
Lift the wrap by the edges and let it cool for 30 seconds. Then, hold it in your hands—the warmth from your palms will make it pliable. Test it by pressing it onto a bowl or wrapping it around a piece of fruit. If it doesn't stick, you might need more pine resin. If it feels too greasy, you used too much oil. Adjust your recipe for the next batch.
Once it's cool and tacky, your wrap is ready to use. Store them flat or rolled loosely in a drawer. Don't fold them tightly, or the wax can crack. I keep mine in a cloth bag in my kitchen drawer, and they're always ready to grab.
How to Make Your Wraps Last (And When to Retire Them)
Daily Care That Actually Works
Wash your wraps with cold water and a mild dish soap. Never use hot water—it melts the wax. Gently scrub with a soft sponge or your hands. Don't soak them. After washing, hang them to dry or lay them flat. I air-dry mine on a dish rack, and they're ready in 10 minutes. Avoid the dishwasher and microwave at all costs.
If your wrap starts to lose its tackiness after several months, you can refresh it. Place it back on parchment paper in the oven at 200°F for 3 minutes, then add a tiny bit more beeswax and resin. This works about three times before the fabric degrades. I've refreshed my favorite medium wrap twice, and it's still going strong.
Signs It's Time to Compost
When the fabric starts to tear, the wax flakes off in chunks, or the wrap no longer seals even after refreshing, it's done. Cut it into small pieces and add it to your compost bin. The cotton and beeswax will break down naturally. If you don't compost, you can use the pieces as fire starters for a campfire or fireplace—they burn clean and smell like honey.
One thing to watch for: if your wrap develops mold (usually from storing moist food like cut melon), toss it immediately. Mold can penetrate the wax. To prevent this, always dry your wraps thoroughly before storing, and don't use them for raw meat or fish. Stick to dry or low-moisture foods, and you'll avoid the issue entirely.
Real-Life Hacks for Using Beeswax Wraps
Bowl Covering That Actually Stays Put
To cover a bowl, place the wrap over the top, then press the edges down with your hands. The warmth from your palms activates the wax, creating a seal. For extra grip, fold the edges under the rim of the bowl. This works especially well for glass or ceramic bowls. For plastic bowls, the seal is weaker, so you might need to use a rubber band over the wrap.
Pro tip: if you're covering a bowl of soup or stew, let it cool to room temperature first. Hot food can melt the wax and make a mess. I learned this when I tried to cover a bowl of chili straight from the stove—the wax dripped into the food. Not a disaster, but not ideal. Cool food first, then wrap.
Wrapping Odd Shapes Like Avocados and Cheese
For half an avocado, place the wrap directly over the cut surface, pressing it into the flesh. The wrap will cling to the avocado's skin and create an airtight seal. This keeps the avocado green for an extra day or two. For a block of cheese, cut a piece of wrap slightly larger than the cheese, then press it firmly around all sides. The wax prevents air from reaching the cheese, reducing mold.
One of my favorite uses is wrapping a lemon after cutting it in half. The wrap seals the cut side, and the lemon stays fresh for a week. Try doing that with plastic wrap—it always slides off. Beeswax wraps are particularly good for anything with a cut surface because the tackiness conforms to the shape.
Why Homemade Beats Store-Bought Every Time
Cost and Customization
Store-bought beeswax wraps cost $12 to $20 for a set of three. That's $4 to $7 per wrap. Homemade wraps cost about $1.50 each. Plus, you can choose your own fabric patterns—floral, geometric, or even fun prints that match your kitchen. I made a set with fabric that has little avocado patterns, and they always make me smile.
You also control the thickness. Store-bought wraps are often too thick, making them stiff and hard to mold. Homemade wraps can be thinner and more flexible because you control the wax-to-fabric ratio. I prefer a lighter coating that still seals well but folds easily for wrapping sandwiches or snacks.
Quality Control and Freshness
Store-bought wraps sometimes use synthetic additives or lower-quality beeswax. When you make your own, you know exactly what's in them. Use organic beeswax if you want, or local beeswax from a farmer's market. The scent is cleaner, and the performance is better. I've tried both, and local beeswax from a beekeeper near me produces wraps that smell like honey and seal like a dream.
One more thing: homemade wraps are more durable because you can refresh them. Store-bought wraps often have a coating that can't be reheated without damaging the fabric. With DIY, you control the lifespan. My first wrap lasted 14 months before I retired it. That's a year of zero plastic waste from covering leftovers.
Common Mistakes and How to Fix Them
Wraps That Are Too Stiff or Too Greasy
If your wrap is stiff and cracks when you fold it, you used too much beeswax and not enough pine resin. The resin is what keeps the wax flexible. Next time, increase the resin by 25% and reduce the beeswax by the same amount. If your wrap is greasy and leaves oily marks on your hands, you used too much jojoba oil. Cut the oil in half for the next batch.
I once made a batch that was so stiff I could barely bend it. I had used a 3:1 ratio of beeswax to resin. After adjusting to 2:1 beeswax to resin, the wraps became pliable and tacky. The oil should be just a few drops—think of it as a lubricant, not a main ingredient.
Uneven Coating and Patchy Seals
Patchy wraps happen when the wax doesn't spread evenly during melting. The fix is simple: after the first melt, use your brush to push the wax to bare spots. Then return the wrap to the oven for 2 minutes and brush again. If you're using the iron method, move the iron slowly and press firmly to distribute the wax. Patience is key—rushing leads to uneven results.
Another tip: preheat your fabric slightly before adding the wax. If the fabric is cold, the wax will solidify too quickly. I warm my fabric in the oven for 1 minute before sprinkling the wax. This small step makes a huge difference in even coating.
Making beeswax wraps is one of those small changes that feels surprisingly good. It's a tangible step away from disposable culture, and every time you use a wrap you made yourself, you're reminded that sustainability doesn't have to be expensive or complicated. Start with one wrap, see how it feels, and you might find yourself making a whole set. Your kitchen—and the planet—will thank you.