Torn between a compact, mirrorless, or your phone? Here's how to pick a travel camera that fits your shooting style, budget, and baggage limits.
- November 9, 2026
AceShowbiz - You're standing on a cliff in Iceland, the northern lights are starting to ripple across the sky, and your phone camera is producing a grainy green smear. Or maybe you're wandering a night market in Bangkok and every shot comes out blurry because your hands can't stay still in low light. These are the moments that make people start shopping for a dedicated travel camera — and also the moments that make them overbuy, lugging five pounds of gear they never touch again.
The truth is, there's no single "best" travel camera. There's only the right camera for how you travel, what you shoot, and how much weight you're honestly willing to carry. This guide walks you through the real decisions that matter, so you spend money on capability you'll actually use instead of specs that impress strangers on the internet.
Start With Your Shooting Style, Not the Spec Sheet
Before you look at a single camera review, spend a week paying attention to what you actually photograph on trips. Are you the person who zooms in on distant wildlife and architecture details? Do you shoot mostly wide street scenes and landscapes? Are you chasing your kids around a beach? Your answer changes everything, because a camera that's brilliant at one job can be mediocre at another.
If you're a zoomer — wildlife, sports, distant landmarks — you need reach, and that usually means a camera with a good lens ecosystem or a long built-in zoom. If you shoot wide and atmospheric, a compact with a fast prime lens or a phone with a great main sensor might beat a bulky zoom kit. And if you're mostly documenting people and candid moments, autofocus speed and low-light performance matter far more than megapixels.
Here's a practical exercise: scroll through the last 200 photos on your phone and sort them into categories. Count how many are wide, how many are zoomed, how many are low-light, how many are portraits. That rough ratio is your buying brief. It's a surprisingly accurate way to avoid spending $1,500 on a camera built for a kind of photography you don't do.
Actionable takeaway: Write down your top three shooting scenarios before you shop. Tape that list to your monitor. If a camera doesn't clearly win at two of the three, cross it off.
Weigh the Real Trade-Off: Size vs. Image Quality
The single biggest factor in whether you'll actually use your camera is whether you'll carry it. A camera left in the hotel safe takes zero photos, no matter how good its sensor is. This is why so many travelers who "upgrade" to a big DSLR end up shooting everything on their phone by day three.
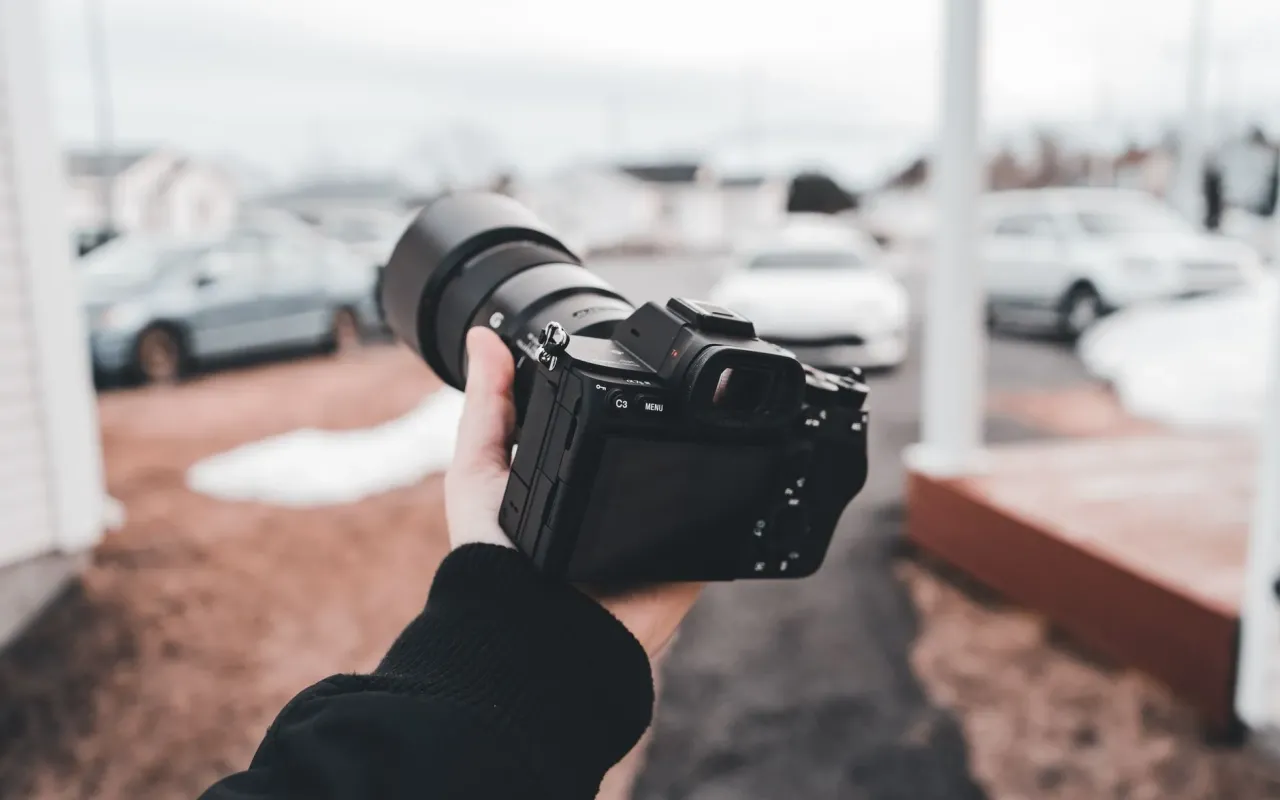
There's a spectrum here. On one end, your phone: always with you, genuinely excellent in good light, and increasingly capable in low light thanks to computational processing. In the middle, premium compacts and small mirrorless bodies with a single compact lens — light enough to sling over a shoulder all day. On the far end, full-frame mirrorless with fast zoom lenses, which can deliver stunning results but demand a bag, spare batteries, and a willingness to be "the camera person" on the trip.
A useful rule of thumb: if a camera plus lens weighs more than about 1.5 pounds, you'll start noticing it by hour four of a walking day. That's fine if photography is the point of the trip. It's miserable if you're primarily there to relax with family. Match the gear to the trip, not to your aspirational self.
Where compacts still win
A good 1-inch-sensor compact with a bright lens can slip in a jacket pocket and beat a phone in low light and at the long end of its zoom. For city breaks and casual trips, that's often the sweet spot between quality and convenience. You get real optical zoom, better handling, and a viewfinder without committing to a bag of lenses.
Actionable takeaway: Before buying, borrow or rent a camera of similar size for a weekend and carry it everywhere. Your shoulders will give you an honest answer that reviews can't.
Sensor Size, Low Light, and Why Megapixels Mislead
Walk into any camera store and you'll hear about megapixels first. Ignore that number. For travel photography, sensor size and lens quality matter far more than resolution. A 20-megapixel camera with a larger sensor will crush a 48-megapixel phone in dim restaurants, museums, and evening streets, because bigger pixels collect more light.
Sensor size affects three things you'll feel on every trip: low-light performance, depth of field (that blurred background look), and how big and heavy the whole system gets. Micro Four Thirds and 1-inch sensors keep things compact and are plenty for most travelers. APS-C is the popular middle ground, balancing size and image quality. Full frame delivers the best low-light results and the most control over background blur, but the lenses get heavy and expensive fast.
Ask yourself how often you shoot after sunset, indoors, or in caves and cathedrals. If the answer is "a lot," prioritize a larger sensor or a brighter lens over zoom range. If you mostly shoot daylight landscapes and street scenes, a smaller sensor with a good lens will serve you beautifully and save your back.
Actionable takeaway: Look for a lens with an f-number of f/2.8 or lower if low light matters to you. A fast lens on a small sensor often beats a slow lens on a big one — and costs less.
Autofocus, Video, and the Features That Actually Matter on the Road
Spec sheets are crowded with features you'll never touch. Here's what genuinely changes your experience while traveling. First, autofocus reliability — modern cameras with subject and eye detection make candid people shots dramatically easier, especially when your subject won't stand still. If you shoot video or vlog, in-body stabilization is close to essential, because handheld footage without it looks like an earthquake.
Second, battery life and charging. Travel days are long, and outlets are scarce. Look for USB-C charging so you can top up from a power bank, and plan on carrying at least one spare battery. Third, weather sealing. If you're headed somewhere rainy, dusty, or salty, a sealed body and lens can be the difference between a working camera and a repair bill.
Fourth — and this gets overlooked — handling. A camera with physical dials you can adjust without menus is a joy in the field; one that buries everything three taps deep will make you miss shots. If possible, hold the camera before buying. Button placement and grip comfort are deeply personal and impossible to judge from photos.
Don't ignore the viewfinder
An electronic viewfinder is a lifesaver in bright sun, where rear screens wash out completely. If you shoot outdoors often, treat a viewfinder as a near-must-have rather than a nice-to-have.
Actionable takeaway: Make a shortlist of three features you'll use weekly, then filter cameras by those first. Everything else is a bonus.
Budget Smart: Where to Spend and Where to Save
You can spend $400 or $4,000 and take great travel photos — the difference is flexibility and low-light headroom, not talent. The smartest budget move is to spend more on the lens and less on the body, because lenses hold value and shape your images far more than the sensor behind them does. A mid-range body with one excellent lens beats a premium body with a mediocre kit lens every time.
Buying used is genuinely low-risk with cameras, since shutter counts are checkable and reputable dealers offer warranties. Refurbished bodies from manufacturers are another underrated route. And don't forget the hidden costs: memory cards, spare batteries, a decent strap, a small bag, and possibly a travel tripod. Those add up to a few hundred dollars and catch first-time buyers off guard.
One more thing worth saying plainly: your phone is a legitimate travel camera. If your budget is tight or your trips are casual, a current phone plus a small tripod and a willingness to learn its manual modes will outperform a cheap dedicated camera you resent carrying. The upgrade only makes sense when you hit a specific limit — zoom, low light, or control.
Actionable takeaway: Set a total budget that includes accessories, then allocate roughly 40% to the body and 60% to lenses and gear. That split tends to age best.
Try Before You Commit
The best camera for your travels is the one that disappears into the experience — light enough to forget, capable enough to nail the shot, and simple enough that you're not fiddling with menus while the light fades. Rent before you buy if you can, test it on a real trip or even a long weekend, and pay attention to how often you reach for it.
If you take one idea from this guide, make it this: buy for the photographer you are on day four of a trip, tired and carrying a daypack, not the imaginary photographer who has unlimited energy and a sherpa. That honest version of you will thank you every time the camera comes out of the bag instead of staying in it.