Skip the $200 detail shop bill. Learn how to wash, clay, polish, and protect your car at home with tools you probably already own.
- September 17, 2026
AceShowbiz - You just paid $40 for a "premium" car wash, and somehow your paint looks worse than when you pulled in. Swirl marks everywhere, water spots on the hood, and that weird film on the windshield that smears every time it rains. Sound familiar? Here's the thing most people learn too late: professional detailing isn't magic, and it isn't a secret formula locked in a shop's back room. It's a process. And once you understand the process, you can do a genuinely better job in your own driveway for a fraction of the cost.
A full professional detail typically runs $150 to $300 for a sedan, and that's before add-ons like paint correction or ceramic coating. Meanwhile, a solid starter kit of DIY supplies costs about the same as two professional visits — and those supplies will last you a year or more. The math gets even better when you realize you control the quality. Nobody at a $25 express wash is going to spend 20 minutes decontaminating your paint. You will, because it's your car.
This guide walks you through the real sequence the pros use: wash, decontaminate, correct, protect, and finish the interior. Follow it in order and you'll get results that make people ask where you got your car detailed.
Gather the Right Supplies Before You Touch the Paint
The single biggest mistake DIY detailers make is using the wrong tools. A kitchen sponge, a bath towel, and dish soap will absolutely clean your car — and absolutely wreck your clear coat in the process. Dish soap strips wax and lubricating oils, and sponges trap grit against the paint, dragging it across the surface like sandpaper.
Here's what you actually need. Two buckets, each with a grit guard at the bottom (about $10 each). A quality microfiber wash mitt. A pH-neutral car wash soap — not dish detergent. Two or three plush microfiber drying towels, ideally 500 GSM or higher. A clay bar or clay mitt. And a spray wax or sealant to finish. Total outlay: roughly $80 to $120 if you're starting from zero.
If you want to go further, add a dual-action polisher ($100 to $150 for a decent entry-level unit like a Porter Cable or Griot's), a few foam polishing pads, and a bottle of finishing polish. That's the setup that lets you remove swirl marks instead of just hiding them.
Practical tip: Buy two sets of microfiber towels in different colors — one color for paint, one for wheels and tires. Cross-contamination is real, and a towel that touched brake dust should never touch your hood.
The Two-Bucket Wash Is Non-Negotiable
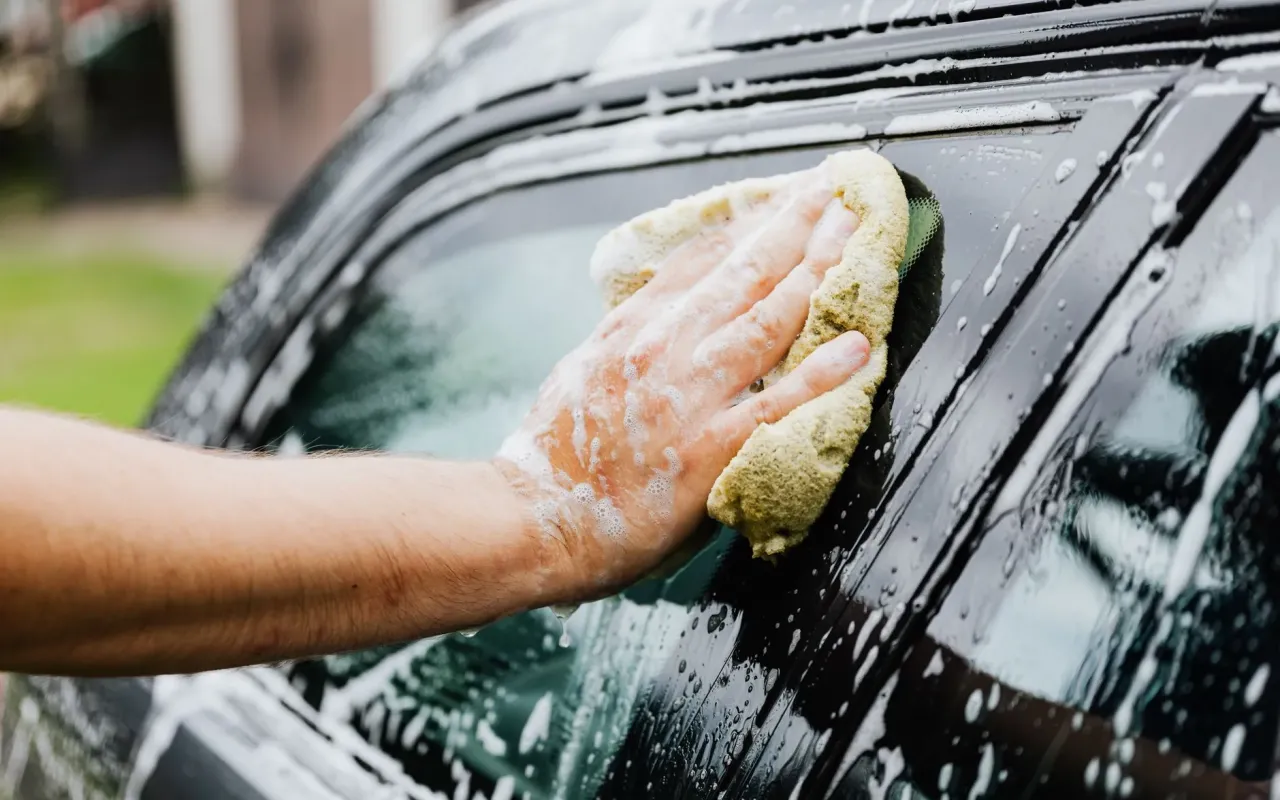
Scratch-free washing comes down to one principle: never let dirty water touch your paint. The two-bucket method solves this. Bucket one holds your soapy wash water. Bucket two holds plain rinse water. You load your mitt with soap, wash one panel, then dunk the mitt in the rinse bucket and scrub it against the grit guard before reloading with soap.
Work top to bottom, and do it in sections. Roof first, then hood, then upper sides, then lower sides, then the rocker panels and bumpers last — those areas hold the most dirt. Rinse your mitt frequently. If you drop it on the ground, stop and get a clean one. A single grain of sand trapped in a mitt can leave a scratch you'll spend an hour polishing out.
Wheels deserve their own bucket, their own mitt, and ideally their own soap. Brake dust is abrasive and acidic, and you don't want it anywhere near your paint. Use a dedicated wheel cleaner, a soft wheel brush, and a separate bucket of soapy water. Do the wheels first, before you wash the body, so you're not splashing dirty water onto clean paint.
Dry with a microfiber towel using light pressure, or better yet, use a leaf blower on low speed to push water off the surface. Air drying eliminates contact entirely, which means zero chance of scratching during the dry step.
Decontamination: The Step Everyone Skips
Run your hand across your car's paint after a wash. Does it feel like glass, or does it feel slightly rough, like there's a fine grit stuck to the surface? That roughness is bonded contamination — industrial fallout, tree sap, tar, and microscopic metal particles that have embedded themselves in your clear coat. Washing won't remove it. Wax won't cover it. You need to clay.
A clay bar pulls those particles out of the paint. Spray a clay lubricant (or a diluted quick detailer) generously on a small section, then glide the clay back and forth with light pressure. You'll feel it grab at first, then smooth out. That transition is the contamination coming off. Wipe the residue with a microfiber towel and move to the next section.
Clay mitts have largely replaced traditional clay bars for most DIYers because they're faster, last longer, and are harder to drop. A good clay mitt runs about $25 and will handle several full vehicles. Just remember: claying removes everything on the surface, including whatever wax or sealant was there before. You must re-protect immediately after.
Practical tip: Do the plastic bag test. Slip your hand inside a thin plastic sandwich bag and run it over the paint. The bag amplifies the texture of the surface, making contamination obvious. If it feels like sandpaper through the bag, it's time to clay.
Polishing Removes Swirls — Wax Only Hides Them
Swirl marks are the fine circular scratches you see when sunlight hits your paint at an angle. They come from automatic car washes, dirty towels, and years of imperfect washing. Wax fills them in temporarily, which is why your car looks great for two weeks after a detail and then goes dull again. Polish actually removes them by leveling the clear coat around the scratch.
If you're doing this by hand, expect a serious workout and moderate results. A dual-action polisher is the real difference-maker. It oscillates rather than spinning in a fixed circle, which makes it nearly impossible to burn through your clear coat — the fear that keeps most people from attempting machine polishing. Start with a light polishing pad and a fine finishing polish, work in two-foot sections, and use slow, overlapping passes.
Set your expectations honestly. A full paint correction on a neglected car can take six to ten hours. If that sounds like too much, do a "one-step" polish — a polish that also contains some protection — which will remove light swirls and add gloss in about three hours for a mid-size car.
Work in the shade, on cool paint. Polishing a hot panel in direct sun causes the polish to dry too fast and can leave residue that's genuinely difficult to remove. Early morning or a garage is ideal.
Protection Is What Keeps Your Work Alive
Everything you did up to this point is temporary without protection. Modern options fall into three tiers, and the right choice depends on how much effort you want to invest and how long you want the results to last.
- Spray wax or spray sealant: 15 minutes to apply, lasts 4 to 8 weeks. Great for maintenance after every wash.
- Liquid or paste sealant: 45 minutes to apply, lasts 4 to 6 months. The best effort-to-durability ratio for most people.
- Ceramic coating: 2 to 4 hours to apply, lasts 1 to 3 years. Requires careful surface prep and a controlled environment, but the gloss and water beading are genuinely different.
Apply protection in thin, even layers. More product does not mean more protection — it means hazy residue that's hard to buff off. Let it flash (turn slightly cloudy) and then buff with a clean, plush microfiber towel. Do one panel at a time so the product doesn't cure before you remove it.
Don't forget the glass, trim, and wheels. A glass sealant keeps rain sheeting off your windshield at highway speed, which is a real safety benefit, not just a cosmetic one. Trim sealant prevents the faded gray plastic look that makes older cars look older than they are.
Interior Detailing: Where Most Cars Actually Show Their Age
Exterior shine gets the compliments, but the interior is what you live with every day. Start by removing everything — floor mats, loose items, that collection of receipts in the door pocket. Vacuum thoroughly, including the seat rails, under the seats, and the trunk. A crevice tool and a soft brush attachment handle 90 percent of the job.
For carpets and fabric seats, a spot-treatment approach works better than soaking everything. Spray an upholstery cleaner on a microfiber towel and blot, rather than spraying directly onto the fabric. Over-wetting causes mildew and can leave water stains. For stubborn stains, agitate gently with a soft brush, then blot dry and let the area air out with the windows down.
Dashboard and door panels need a cleaner that leaves a matte finish. Shiny, greasy dressings look dated and attract dust. A diluted all-purpose cleaner on a microfiber towel does the job, followed by a UV protectant if your car sits outside. And clean your interior glass last — after everything else is done — because interior glass cleaner picks up every bit of overspray from the products you used on the dash.
Practical tip: Keep a small detailing kit in your trunk — microfiber towel, quick detailer spray, and interior wipes. Five minutes of touch-up after a bird strike or a coffee spill saves an hour of correction later. Detailing isn't a once-a-year event; it's a habit that keeps your car looking newer for years and protects its resale value when you eventually sell it.