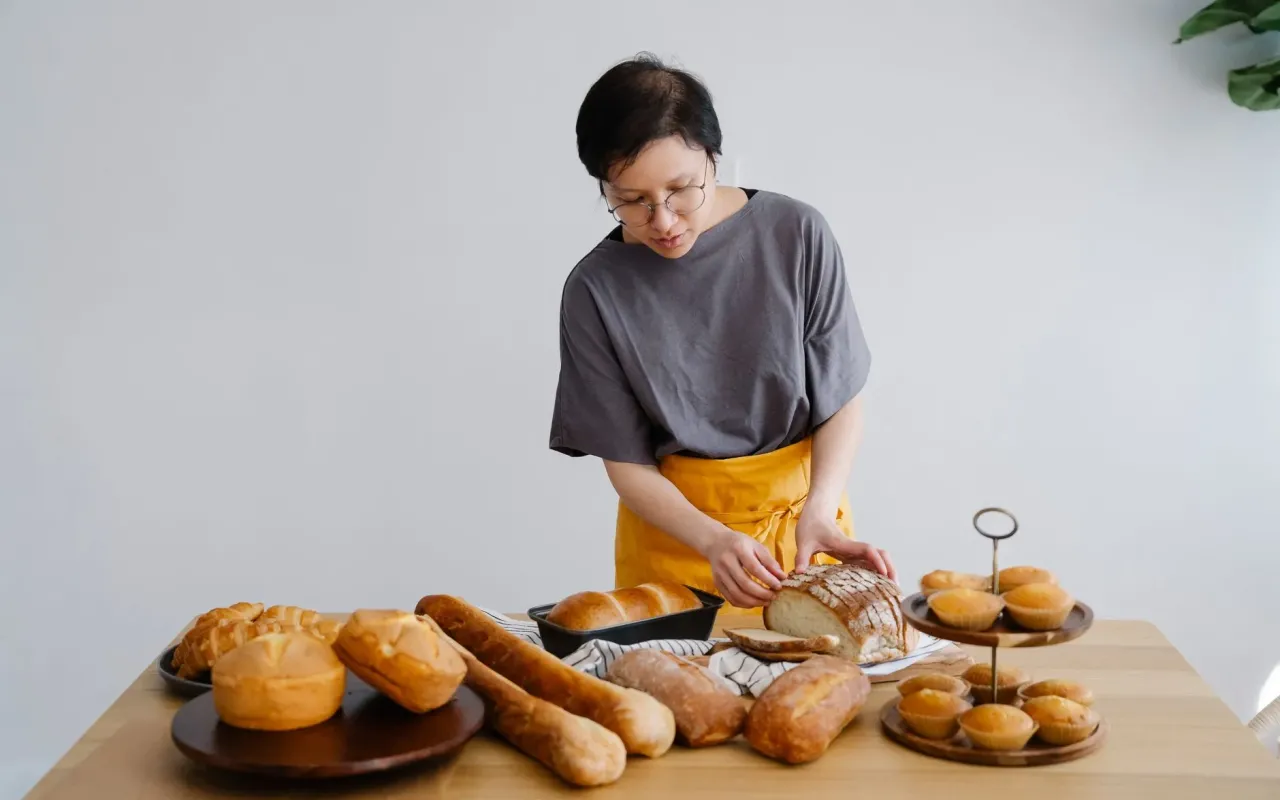
Baking bread at home is simpler than you think — once you understand what actually matters. Here's the honest, no-fluff guide for beginners.
- October 9, 2026
AceShowbiz - Most people who try baking bread at home quit after two attempts. Not because bread is hard, but because they followed a recipe that lied to them. It said "knead for 10 minutes" without explaining what the dough should feel like. It said "let rise until doubled" without mentioning that a cold kitchen can double that time — or triple it.
Here's the thing: bread is flour, water, salt, and yeast. That's it. Four ingredients that have been combined into edible form for roughly 14,000 years. If our ancestors could figure this out with stone ovens and no thermometers, you can manage it with a $30 Dutch oven and a kitchen scale.
The real barrier isn't skill. It's understanding why things happen. Once you know what gluten is doing, why dough needs rest, and how temperature changes everything, you stop following recipes blindly and start making decisions. That's when bread gets fun — and when it starts actually working.
Start With the Right Ingredients (Not the Fancy Ones)
Walk down the baking aisle and you'll see bread flour at $8 a bag, "artisan" flour at $12, and a bewildering array of yeast packets. Here's the truth: you don't need any of it to start.
All-purpose flour works fine for your first several loaves. It has slightly less protein than bread flour — about 10-11% versus 12-13% — which means slightly less gluten development. But for a basic sandwich loaf or a simple round boule, the difference is marginal. Save the $12 flour for when you can taste the difference.
What you do need is a kitchen scale. This is non-negotiable. Scooping flour with a measuring cup can vary your actual flour amount by 20% or more depending on how packed it is. That's the difference between a dough that rises beautifully and one that sits there like a brick. A basic digital scale costs $15 and will improve your baking more than any other single purchase.
Practical tip: Buy instant yeast (also called rapid-rise or bread machine yeast) in a jar, not packets. A 4-ounce jar costs about the same as 6 packets and contains roughly 14 times the yeast. Store it in the fridge and it lasts for years.
Understanding Gluten Without the Jargon
Gluten is what happens when two proteins in flour — glutenin and gliadin — meet water and get agitated. They link up into a stretchy network that traps gas bubbles from yeast. That network is what allows bread to rise instead of turning into a cracker.
You can develop gluten two ways: kneading or time. Kneading physically stretches and folds the dough, speeding up the linking process. Time lets enzymes in the flour do the work naturally, which is why "no-knead" recipes work. They're not magic — they just let chemistry take the slow route.
Here's what matters for you: if a recipe says "knead until smooth and elastic," it means the dough should spring back when you poke it and feel like a slightly damp earlobe. If it tears when you stretch it, keep kneading. If it stretches thin enough to see light through it without ripping (the "windowpane test"), you're done.
The Windowpane Test in Practice
Pinch off a golf-ball-sized piece of dough. Flatten it with your fingers and slowly stretch it apart. If it forms a thin, translucent membrane before tearing, your gluten is developed. If it rips immediately, give it another 3-4 minutes of kneading and try again. This one test replaces all the vague instructions about "kneading time" because it measures the actual result rather than the process.
Temperature Controls Everything (And Your Kitchen Is Probably Wrong)
Yeast is a living organism, and it has opinions about temperature. Below 55°F, it goes dormant. Between 75-85°F, it's happiest and most active. Above 140°F, it dies. Your kitchen in January is probably around 65°F, which means your dough will rise — just very slowly.
A recipe that says "let rise for 1 hour" was likely written in a warm test kitchen. In your 65°F apartment, that same dough might need 2.5 hours. This isn't a failure on your part. It's just physics.
The fix is simple: create a warm spot. Turn your oven on for 60 seconds, then turn it off and put the covered dough inside. Or place the bowl on top of your refrigerator, which radiates gentle heat. Or fill a large bowl with hot water, set a smaller bowl with your dough inside it, and cover the whole thing with a towel. Any of these will get you into the 75-80°F range where dough behaves predictably.
Practical tip: Stick an instant-read thermometer into the center of your dough. If it reads below 70°F, move it somewhere warmer. If it's above 85°F, you're risking a yeasty, boozy flavor. The sweet spot is 75-78°F for most recipes.
Why Your Bread Is Dense (And How to Fix It)
Dense bread almost always comes down to one of three problems: not enough water, not enough time, or not enough heat.
Hydration — the ratio of water to flour by weight — is the biggest factor most beginners overlook. A standard sandwich bread recipe runs about 60-65% hydration (600-650 grams of water per 1000 grams of flour). A rustic artisan loaf runs 70-80%. If you're using a recipe with 60% hydration and wondering why your bread is tight and crumbly, that's why. More water means more steam during baking, which creates bigger air pockets.
Under-proofing is the second culprit. If you cut into a loaf and see a dense, gummy layer at the bottom with a few large holes at the top, your dough didn't rise long enough before baking. The yeast hadn't finished producing gas. Next time, let it go another 30-45 minutes and use the poke test: press a floured finger into the dough. If it springs back immediately, it needs more time. If the indentation stays, it's ready.
The third issue is oven temperature. Most home ovens run 25-50°F off from what the dial says. An oven thermometer costs $8 and will tell you the truth. If your oven runs cold, your bread won't get the initial burst of heat it needs to spring up before the crust sets.
The Dutch Oven Trick
If you want bakery-quality crust at home, bake your bread in a covered Dutch oven. The lid traps steam from the dough, which keeps the crust soft and allows the bread to expand fully during the first 20 minutes. Then you remove the lid and the dry heat browns and crisps the crust. It's the closest thing to a professional steam-injected oven that exists in a home kitchen.
Building a Routine That Actually Sticks
The biggest reason people stop baking bread is that it feels like a project. Three hours of rising, shaping, rising again, baking, cooling — that's a full afternoon. And if you have a job and kids and a life, that's not sustainable.
The solution is to break it up. Mix your dough at night before bed, let it sit on the counter overnight (a "cold ferment" in the fridge works even better), and bake it the next morning. The long, slow rise develops more flavor than a quick rise ever could, and you're not watching a timer for three hours.
A basic schedule looks like this: mix dough at 9 PM, cover the bowl, leave it on the counter (if your kitchen is above 65°F) or in the fridge. At 7 AM, shape it, let it rest for 45 minutes while you make coffee, then bake. Total active time: about 20 minutes. Total elapsed time: 10 hours. The bread doesn't care that you were sleeping.
Practical tip: Keep a notebook. Write down the flour you used, the water amount, the room temperature, and how long each step took. After five loaves, you'll have a personal record of what works in your kitchen — which is worth more than any recipe you'll find online.
The First Loaf Is Always Bad (And That's Fine)
Your first loaf will probably be dense. Or pale. Or slightly underbaked in the middle. That's not a sign you're bad at this. It's a sign you're learning a physical skill that takes repetition.
Professional bakers don't get it right on the first try either. They get it right because they've made the same loaf hundreds of times and adjusted based on what they saw and felt. You're doing the same thing, just at the beginning.
So bake the second loaf. Then the third. Change one thing each time — more water, longer rise, hotter oven. Within a month, you'll be making bread that costs $2 in ingredients and tastes better than the $8 loaf at the store. And you'll never go back to the bread aisle again.